In addition to the QuickLinks and drill-through reporting available in iQ, the platform also offers an Ad Hoc reporting tool that allows iQ users to build custom reports using templates for Sales/Returns, Inventory, Backorders, and more. This functionality is ideal for creating reports that include specific criteria in a desired layout. Users can also save their reports for future use as needed, and export in CSV or Excel formats.
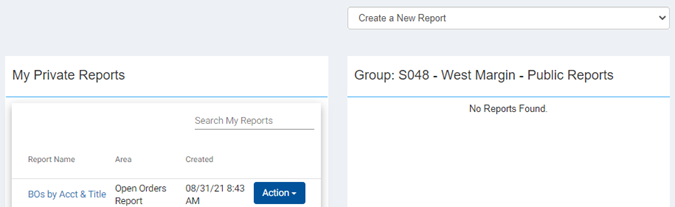
When you first access the Ad Hoc Dashboard, you should see a dropdown that says ‘Create a New Report’ along with two sections labeled as My Private Reports and Group: (your current Group) - Public Reports.
Ad Hoc Templates
To view the lists of available report templates, click the Create a New Report dropdown. Select the template you wish to use to create your report.

Available templates:
- Cancelled Orders Report – Provides detail on cancelled customer POs.
- Comparative Sales – Compares sales/returns between current and previous periods. Similar to the QuickLinks report but can be viewed on an account or EAN level, if desired.
- IBC Sales Returns – This template focuses on Ingram Wholesale sales/returns. Does not include IPS Direct activity. Ingram Wholesale customer information is provided in the Headquarter column.
- Inventory Resource – A physical inventory perspective that can include inventory transactions and/or inventory snapshots. Ideal for inventory reconciliation at the end of a period.
- Open Orders Report – This template provides customer backorder information – Open Backorders, Committed Backorders, and Total Backorders which combines the two.
- Sales Returns – Shows all sales/returns activity for IPS Direct and Ingram Wholesale transactions. Ingram Wholesale transactions display with INGRAM WHOLESALE as the Headquarter.
- Sales Returns Combined Details - Shows all sales/returns activity for IPS Direct and Ingram Wholesale transactions. Ingram Wholesale transactions display the Wholesale customer information in the Headquarter column, and these transactions can be identified using the IPS Sale field (Y = Direct sale, N = Wholesale sale).
- Title Customer – Users can combine Headquarter info, title info, backorder info, and various sales measures to make a comprehensive report by customer.
-
Title Resource – Users can combine title info, inventory info, backorder info, and various sales measures to make a comprehensive report by EAN.
Building a Report
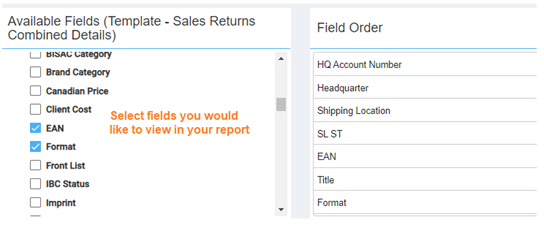
Once you select a template, you will be taken to a page to start building your report. To begin, select your desired report columns from the ‘Available Fields’ list on the left-hand side of the page. As you select Fields, they should appear in the middle section labeled ‘Field Order.’ Each selected field will be represented as a column in your report.
In the list of Available Fields, you can select individual Fields in each section or Select All at the beginning of each section. Use the scroll bar to view all available fields. You can have a very granular level of detail in your report by choosing many fields, or you can have a top-level view of information by only choosing a few fields.
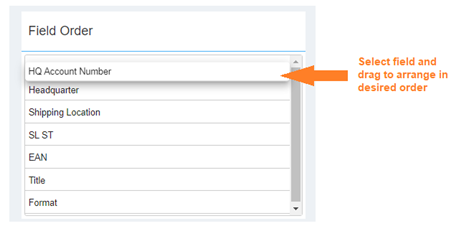
Field Order is the order the columns will display once you Preview your report. The top-down order will translate to left-right in your report. You can rearrange the field order by using drag and drop. Select a field name in the Field Order section, hold down the left mouse button and move the field until it is in the order you want. Release the mouse button and the field should remain in its new place.
To remove a field from the Field Order section and your report, deselect it under Available Fields.
Applying Filters
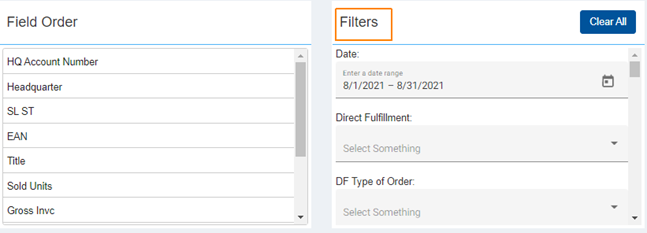
The third section at the top of the page displays filters that can be used to refine your report Preview in the browser. If there is a date range filter, select your start date and end date using the calendar. You must select your start date first.
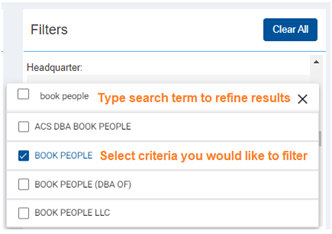
To apply a filter, select your criteria then click anywhere on the page outside of the filters section.
To apply additional filters to your report Preview, search and select your desired filters. Scroll down to view all available filters in the template. As you apply filters, the data in your report Preview will be refined to only include the criteria you have selected in the filter(s).
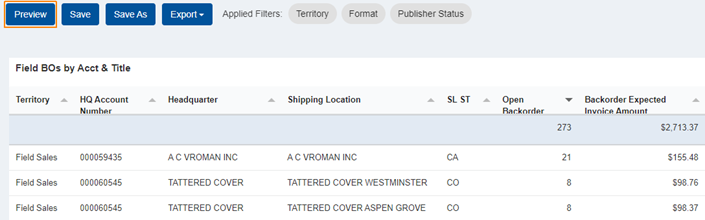
As you apply filters, you should see which filters are applied here:

To clear applied filters, either deselect in each section or hit the Clear All button to remove all filters at once.
Preview Report in iQ
Once you have selected your Fields and applied desired filters, you can select Preview to view your report in the browser. The report displays at the bottom of the screen with the columns listed in the same order as the ‘Field Order’ section.
Please note that additional time may be required to generate the report preview when a large amount of data exists.
You can continue to make changes to the Field/Field Order/Filters in the browser until you are satisfied with your results. To view changes to selected Fields or Field Order after the initial Preview, you will need to click the Preview button again. You can also re-sort the Preview by clicking the column headers.
You then have the option to Save your report for later use and/or Export it out of iQ.
Save Your Report
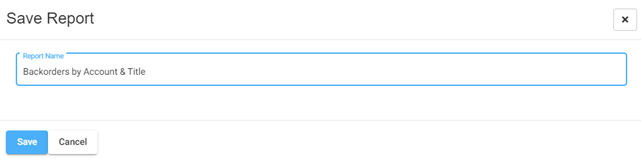
To save the report for future use, click the Save button next to Preview. You should see a pop-up that will allow you to name your report and Save to your Private Reports. Please note that any applied Filters will be saved, except for the date range. You will need to adjust the date range each time you access your saved report.
If you make edits to a Saved report and want to save a new version, you can utilize the Save As button.
Export Your Report
To export the report out of iQ, select the Export dropdown and choose either CSV or Excel format for your download.

Make Saved Reports Public
If a user has Publisher Admin permissions, they can promote their saved Private reports Public so that other users with access to their iQ association can use the reports. If you are unable to make reports Public, please check in with your primary iQ contact so they can check your permissions.
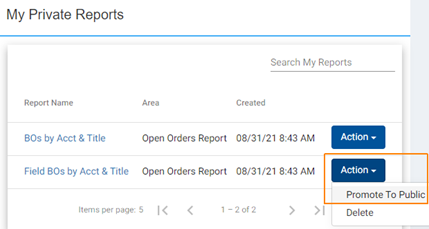
Go to My Private Reports and select ‘Action’ next to the report you would like to share. Select ‘Promote to Public.’ You should then see the report appear in the Public Reports section and other users with access to the same iQ association will be able to view the report as well.
To remove a report from Public view, click on ‘Action’ next to the report name in Public Reports and select ‘Remove from Public.’ This action will make the report Private again, in the user account where it was originally created.
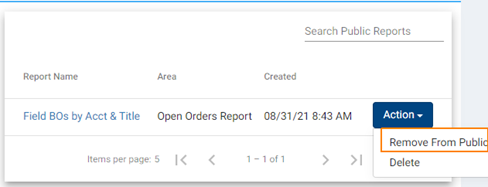
To delete a saved report, click ‘Action’ next to the report name you would like to remove and select ‘Delete.’
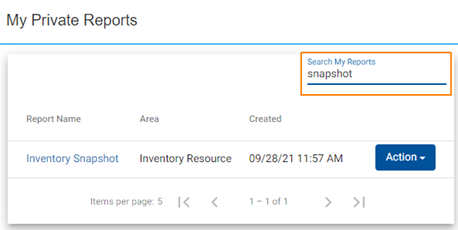
Search Saved Reports
If you have many saved Private or Public reports, you can search your saved reports by name and it will refine your results:
Return to Main Ad Hoc Screen
To return to the templates/saved reports screen from your Preview, click the Ad Hoc icon on the menu bar.

Comments
0 comments
Please sign in to leave a comment.